


How to Deploy LavinMQ from AWS Marketplace
AWS Marketplace provides a way to subscribe to CloudAMQP services and manage billing through your AWS account. In this guide, we’ll walk through the process of subscribing through AWS Marketplace and accessing the CloudAMQP console, where you can create your LavinMQ instance.
Prerequisites
Before you begin, make sure you have:
- An AWS account with a valid payment method configured.
- Note: Newly created AWS accounts must be fully activated and verified before subscribing through AWS Marketplace.
- Review the pricing for your chosen CloudAMQP plan and any applicable AWS infrastructure charges before starting the deployment.
Step 1: Open the AWS Marketplace Listing
- Sign in to your AWS account and open AWS Marketplace.
- In the AWS Marketplace search bar, search for LavinMQ.
- From the search results, select RabbitMQ & LavinMQ by CloudAMQP.
The AWS Marketplace overview page will appear as shown below.
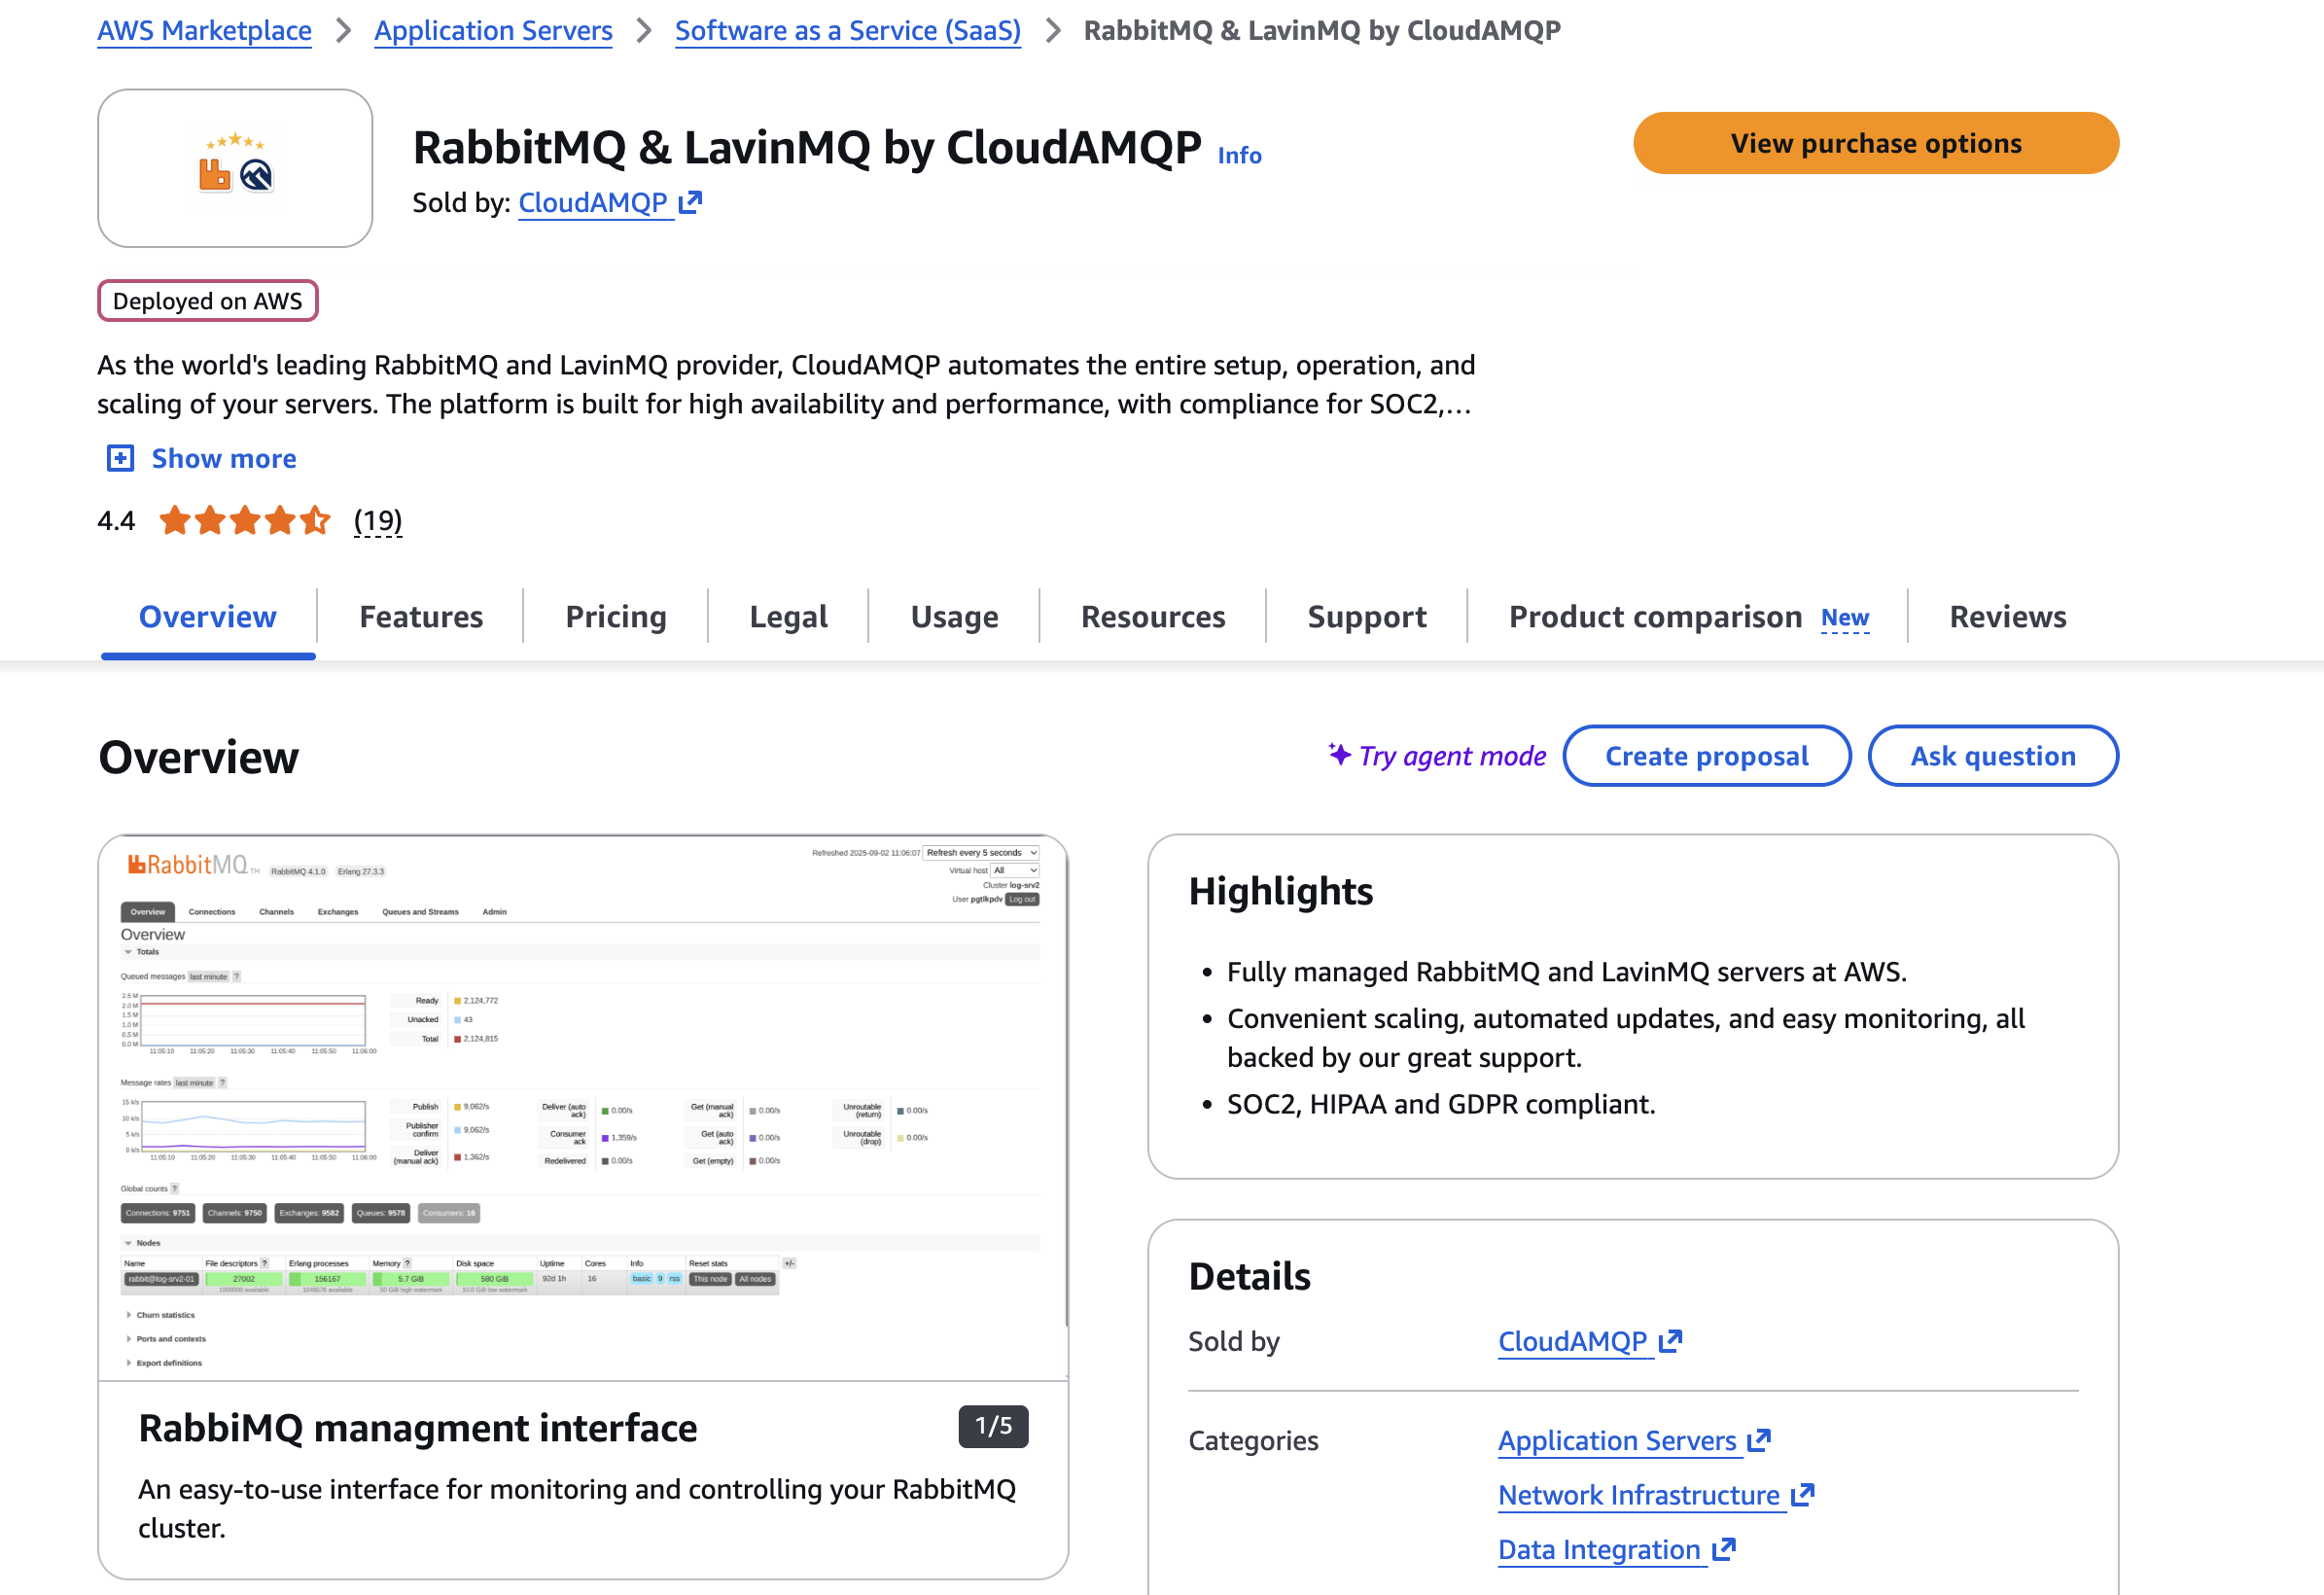
Figure 1. AWS Marketplace overview.
Alternatively, access the RabbitMQ & LavinMQ by CloudAMQP listing directly on AWS Marketplace.
Step 2: Review the Marketplace Listing
- Review the information on the overview page, including product description, pricing, support details, and terms and conditions.
- When ready, click View purchase options.
AWS Marketplace will display the subscription page shown below.
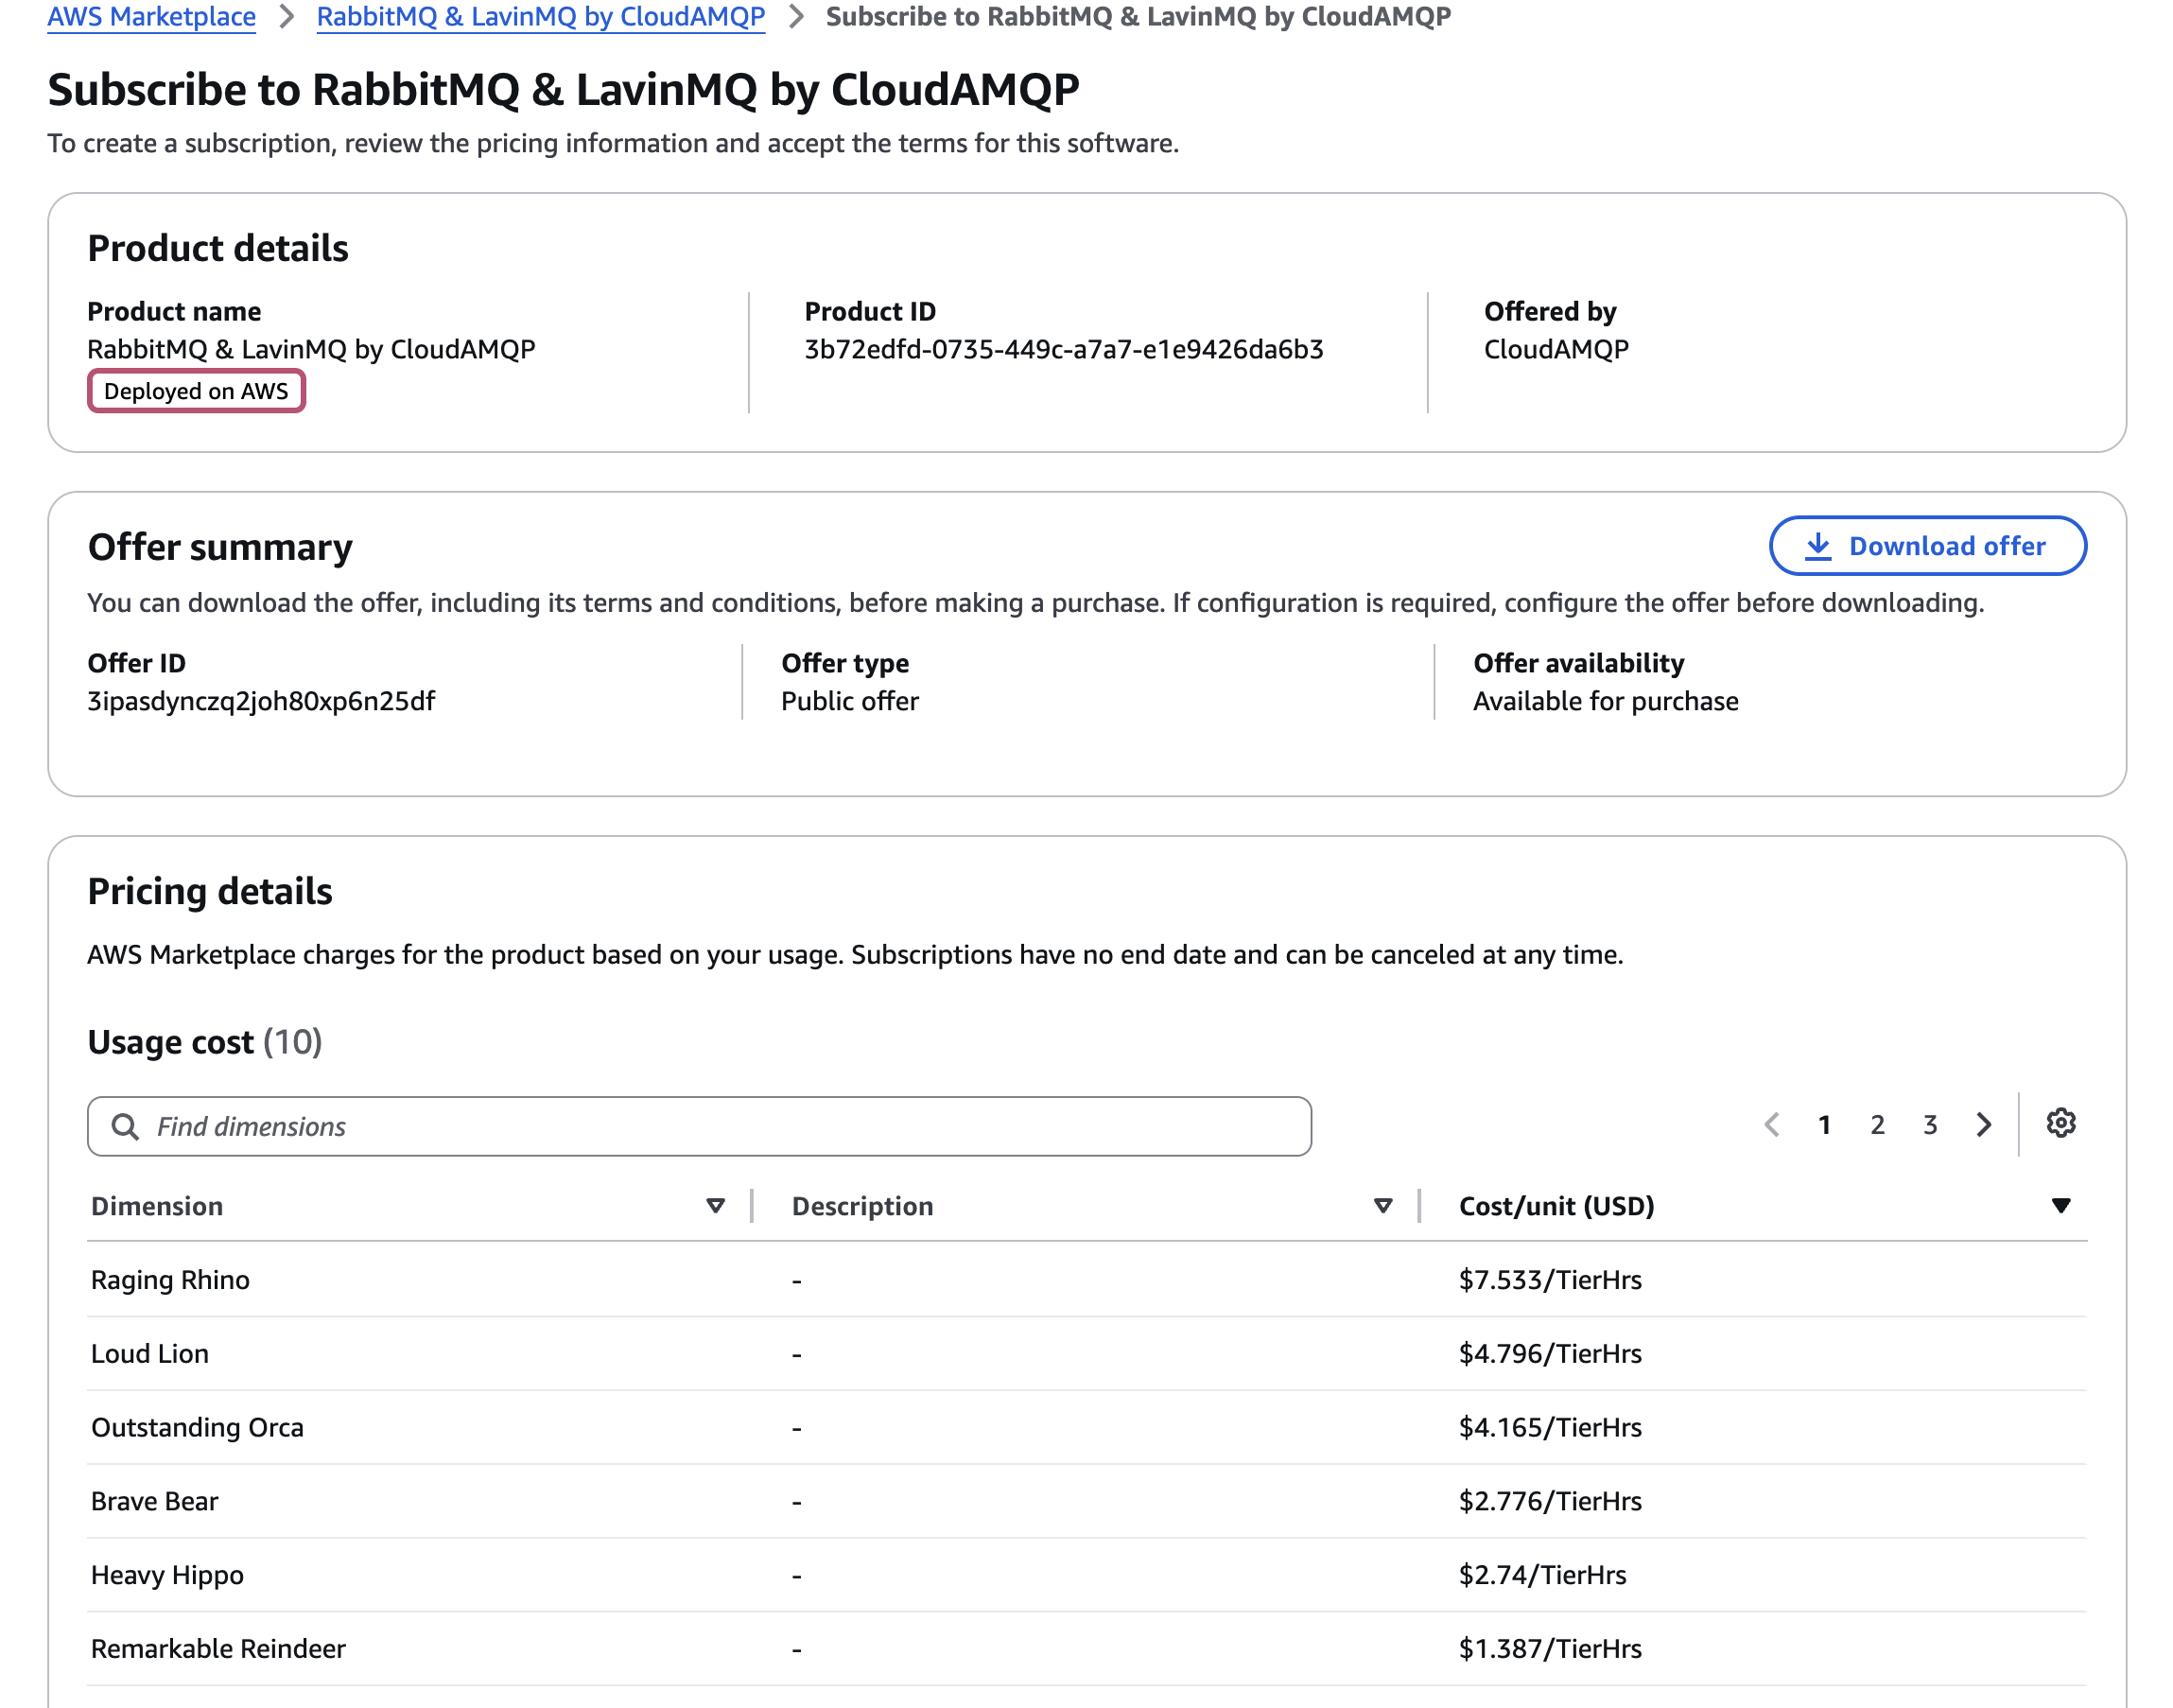
Figure 2. AWS Marketplace subscription page.
- Review the subscription details and pricing information.
- Click Subscribe to continue.
At this stage, the subscription is to the CloudAMQP Marketplace offering. The RabbitMQ or LavinMQ broker selection happens later in the CloudAMQP console.
Step 3: Complete the Subscription
- Click Subscribe to create the AWS Marketplace subscription.
AWS Marketplace will process the subscription and display a confirmation page similar to the one shown below.
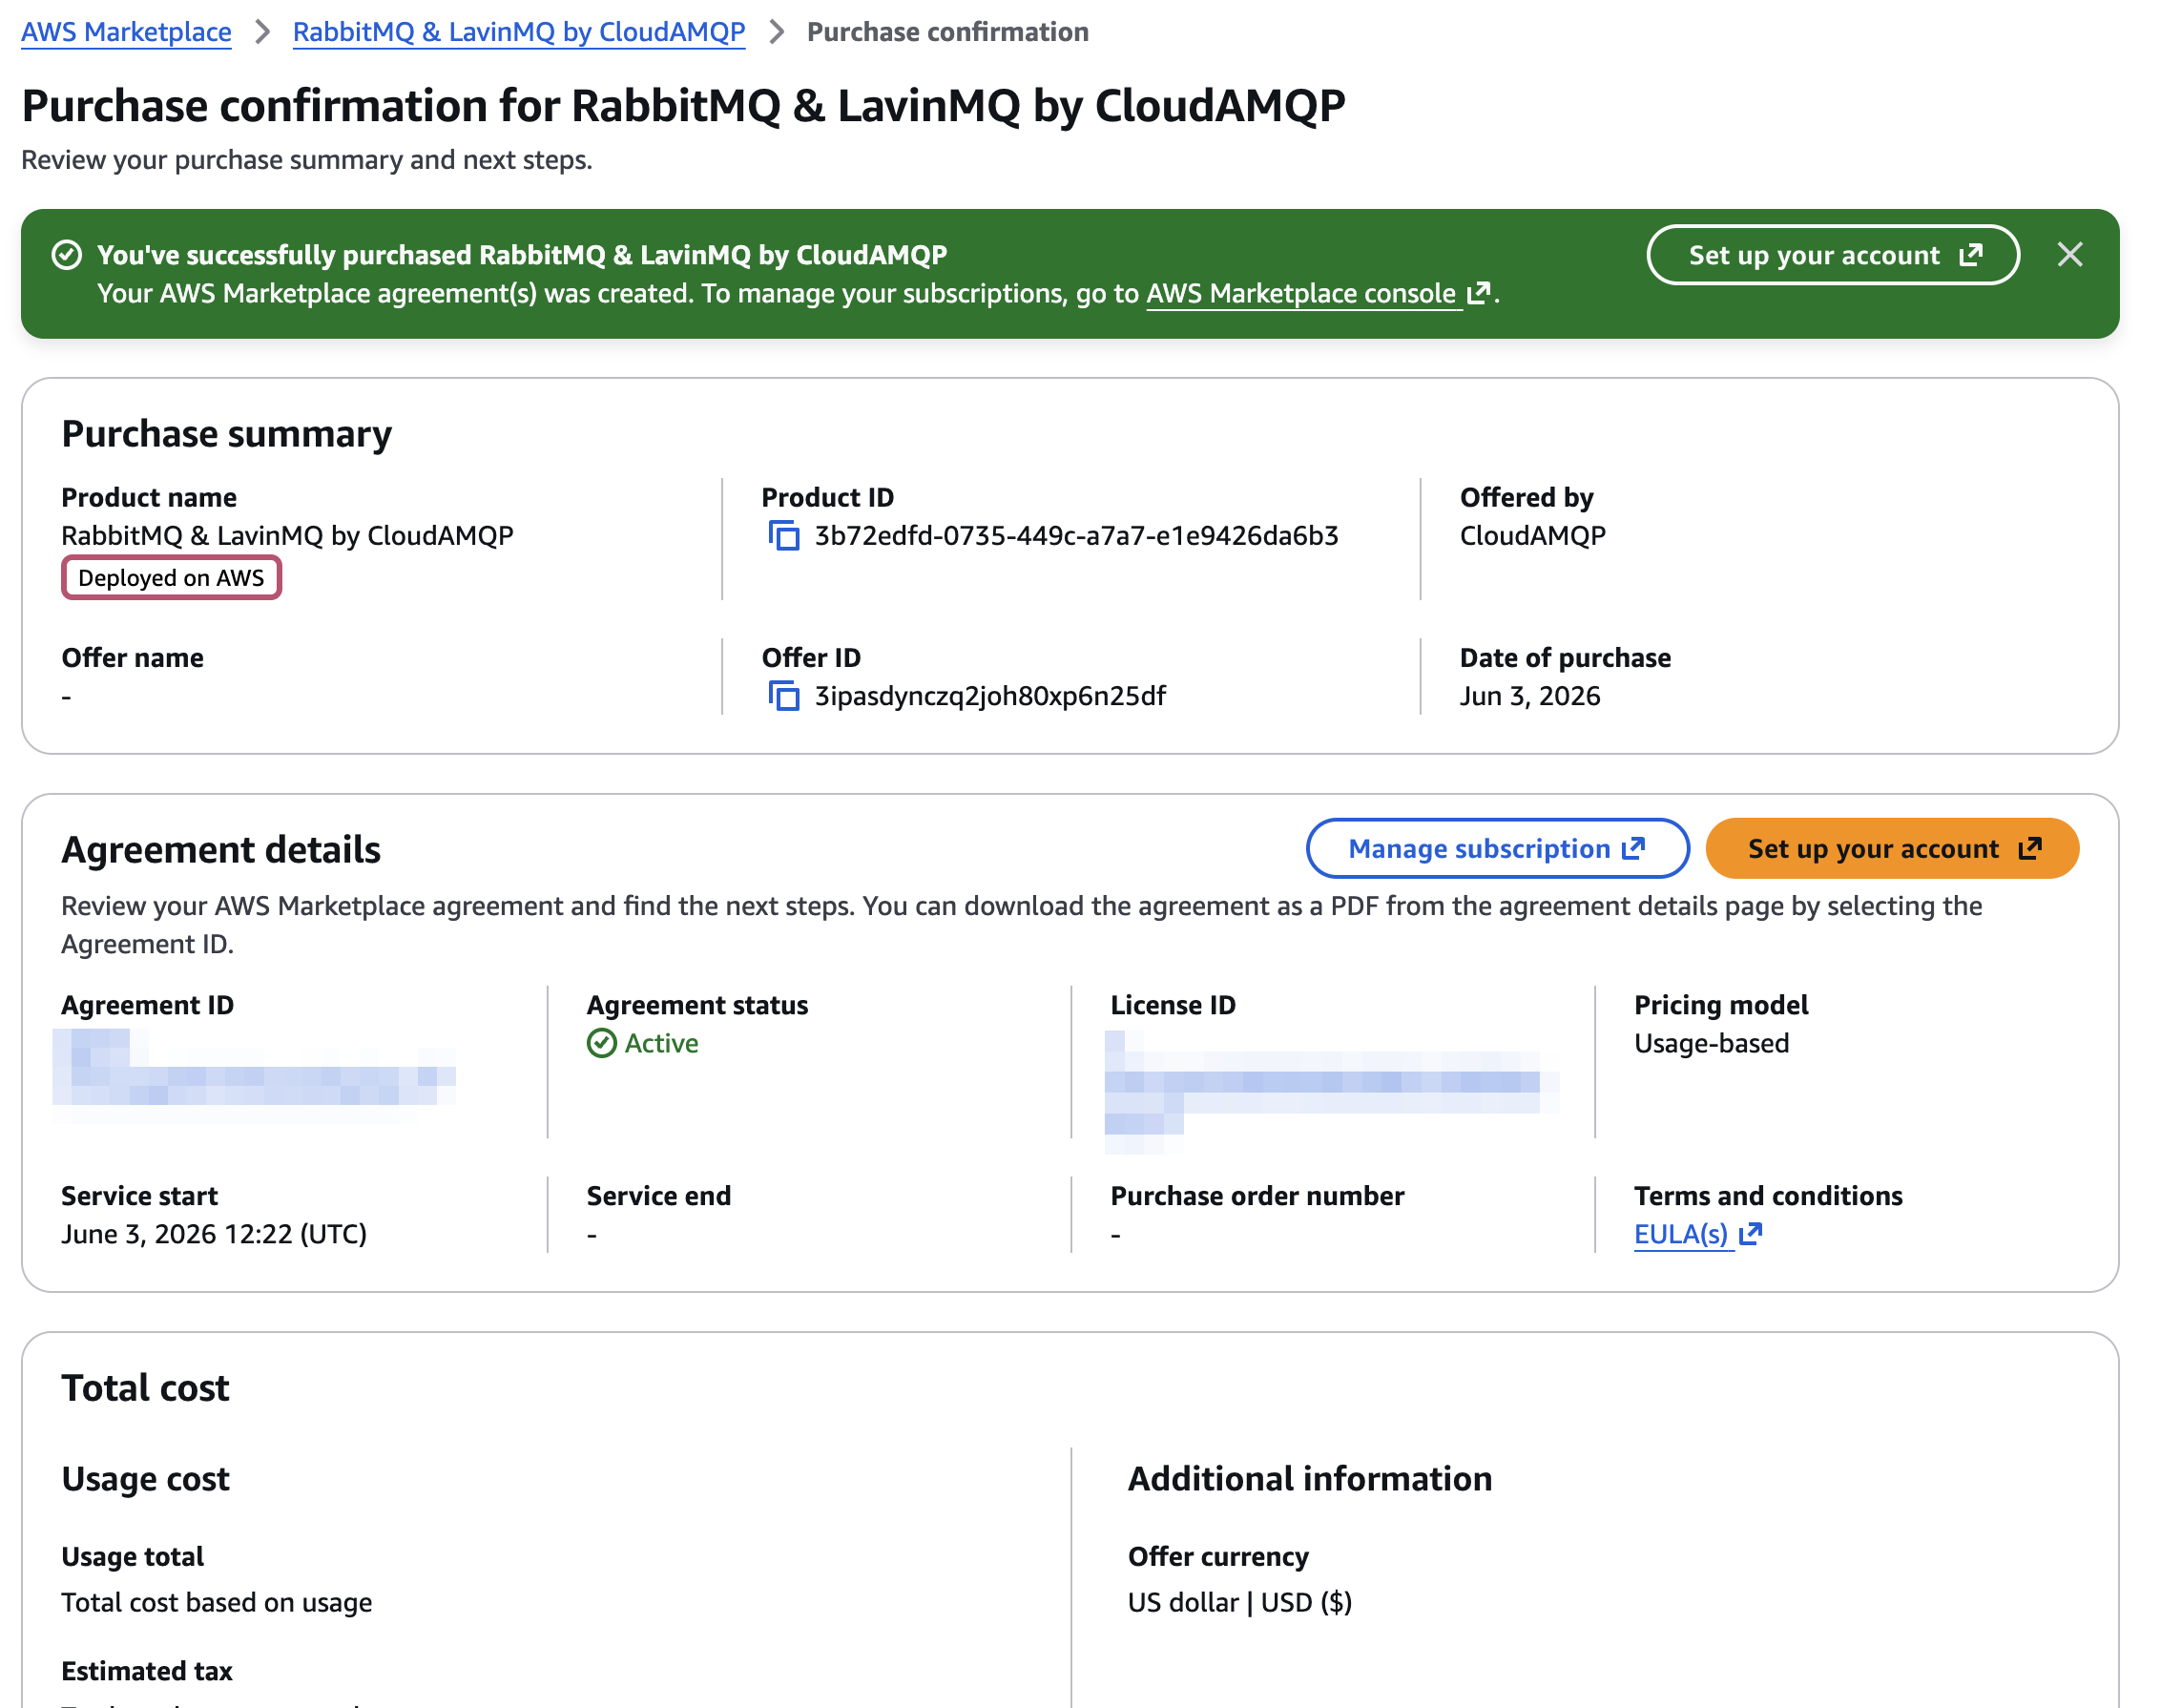
Figure 3. AWS Marketplace subscription confirmation page.
- Once the subscription is confirmed, click Set up your account.
This redirects to CloudAMQP, where an account can be created or connected to continue with the LavinMQ setup process.
Although the subscription is managed through AWS Marketplace, CloudAMQP uses its own account system for managing RabbitMQ and LavinMQ instances.
Step 4: Create or Sign In to Your CloudAMQP Account
After clicking Set up your account, the browser redirects to the CloudAMQP login page. An email from CloudAMQP will also arrive with an invitation similar to the following:
To complete your AWS Marketplace registration for CloudAMQP sign in at https://customer.cloudamqp.com and accept the pending invite.
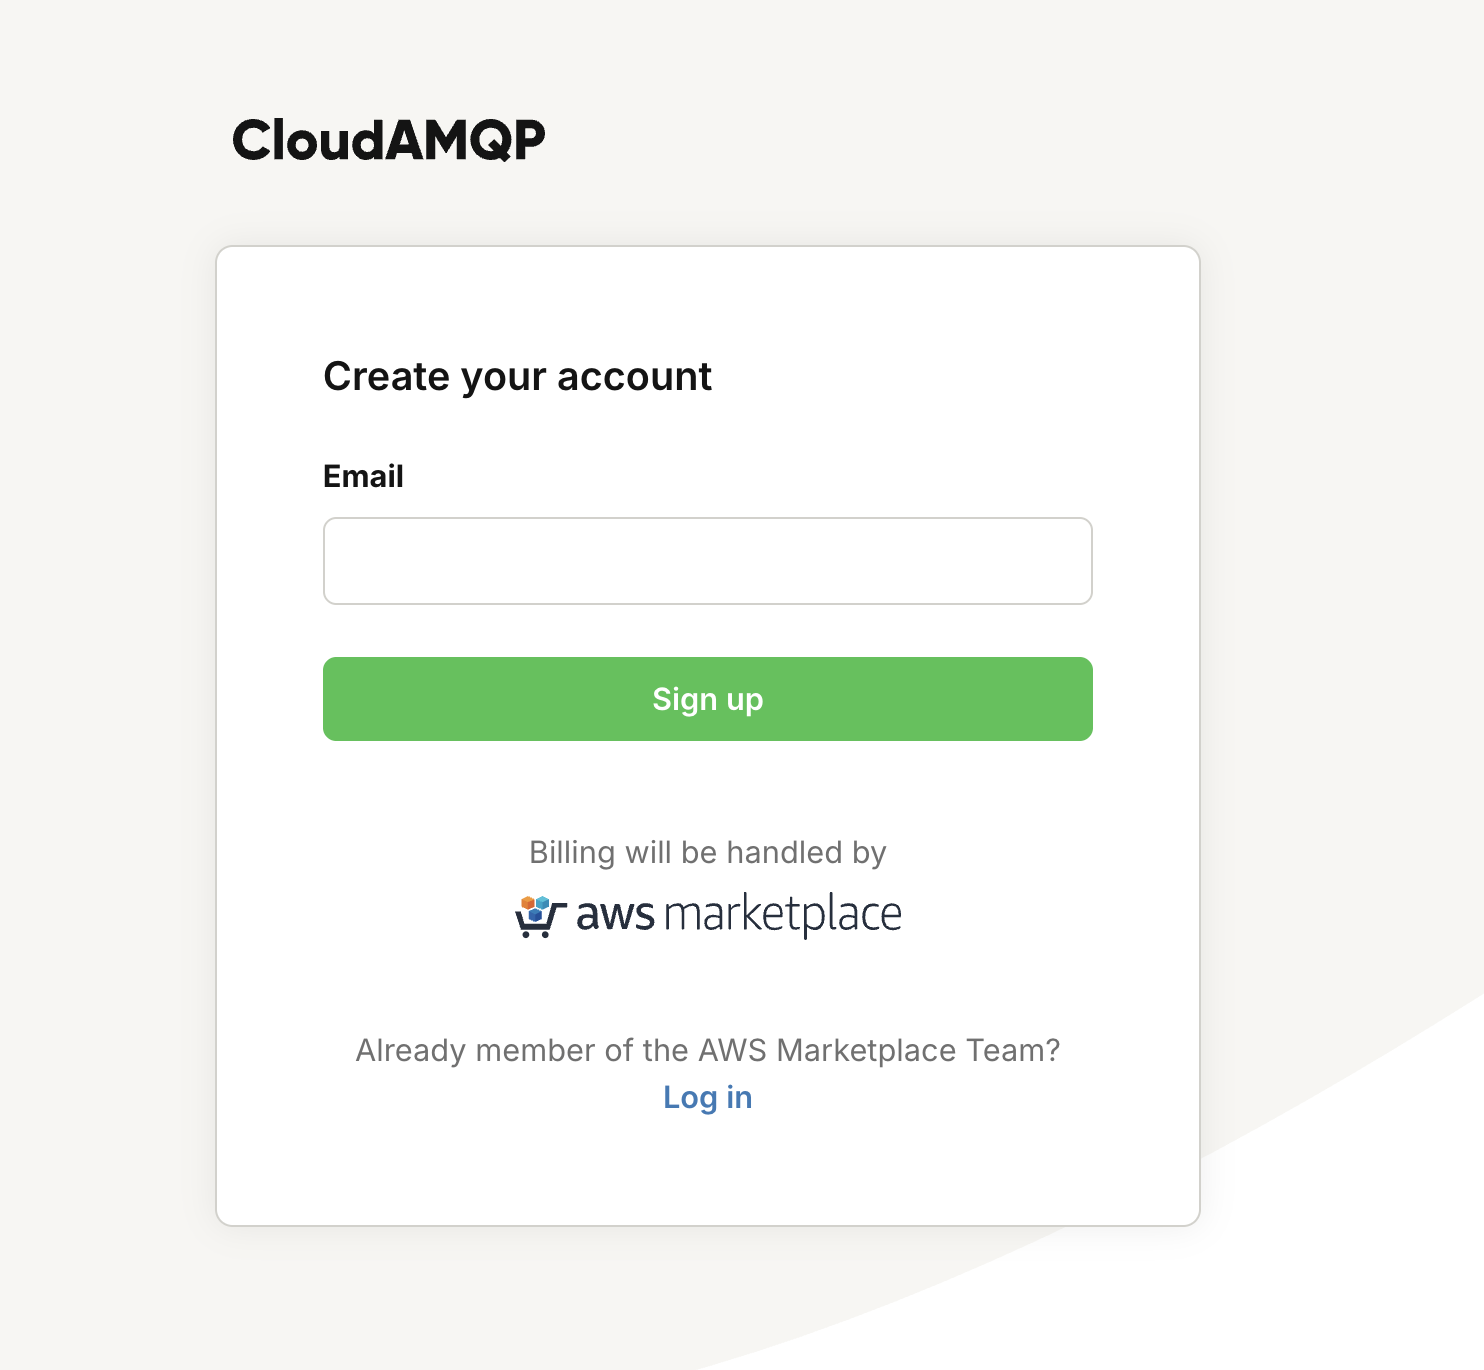
Figure 4. CloudAMQP sign-in page reached via AWS Marketplace.
This invitation links the CloudAMQP account to the AWS Marketplace subscription.
- Existing CloudAMQP users: sign in with existing credentials.
- New users: create an account using an email address.
After signing in, accept the pending invitation to complete the registration and access the CloudAMQP team.
Step 5: Select the AWS Marketplace Team
After signing in to CloudAMQP, verify that the team associated with the AWS Marketplace subscription is selected. The team selector in the top-right corner of the CloudAMQP console shows the active team.
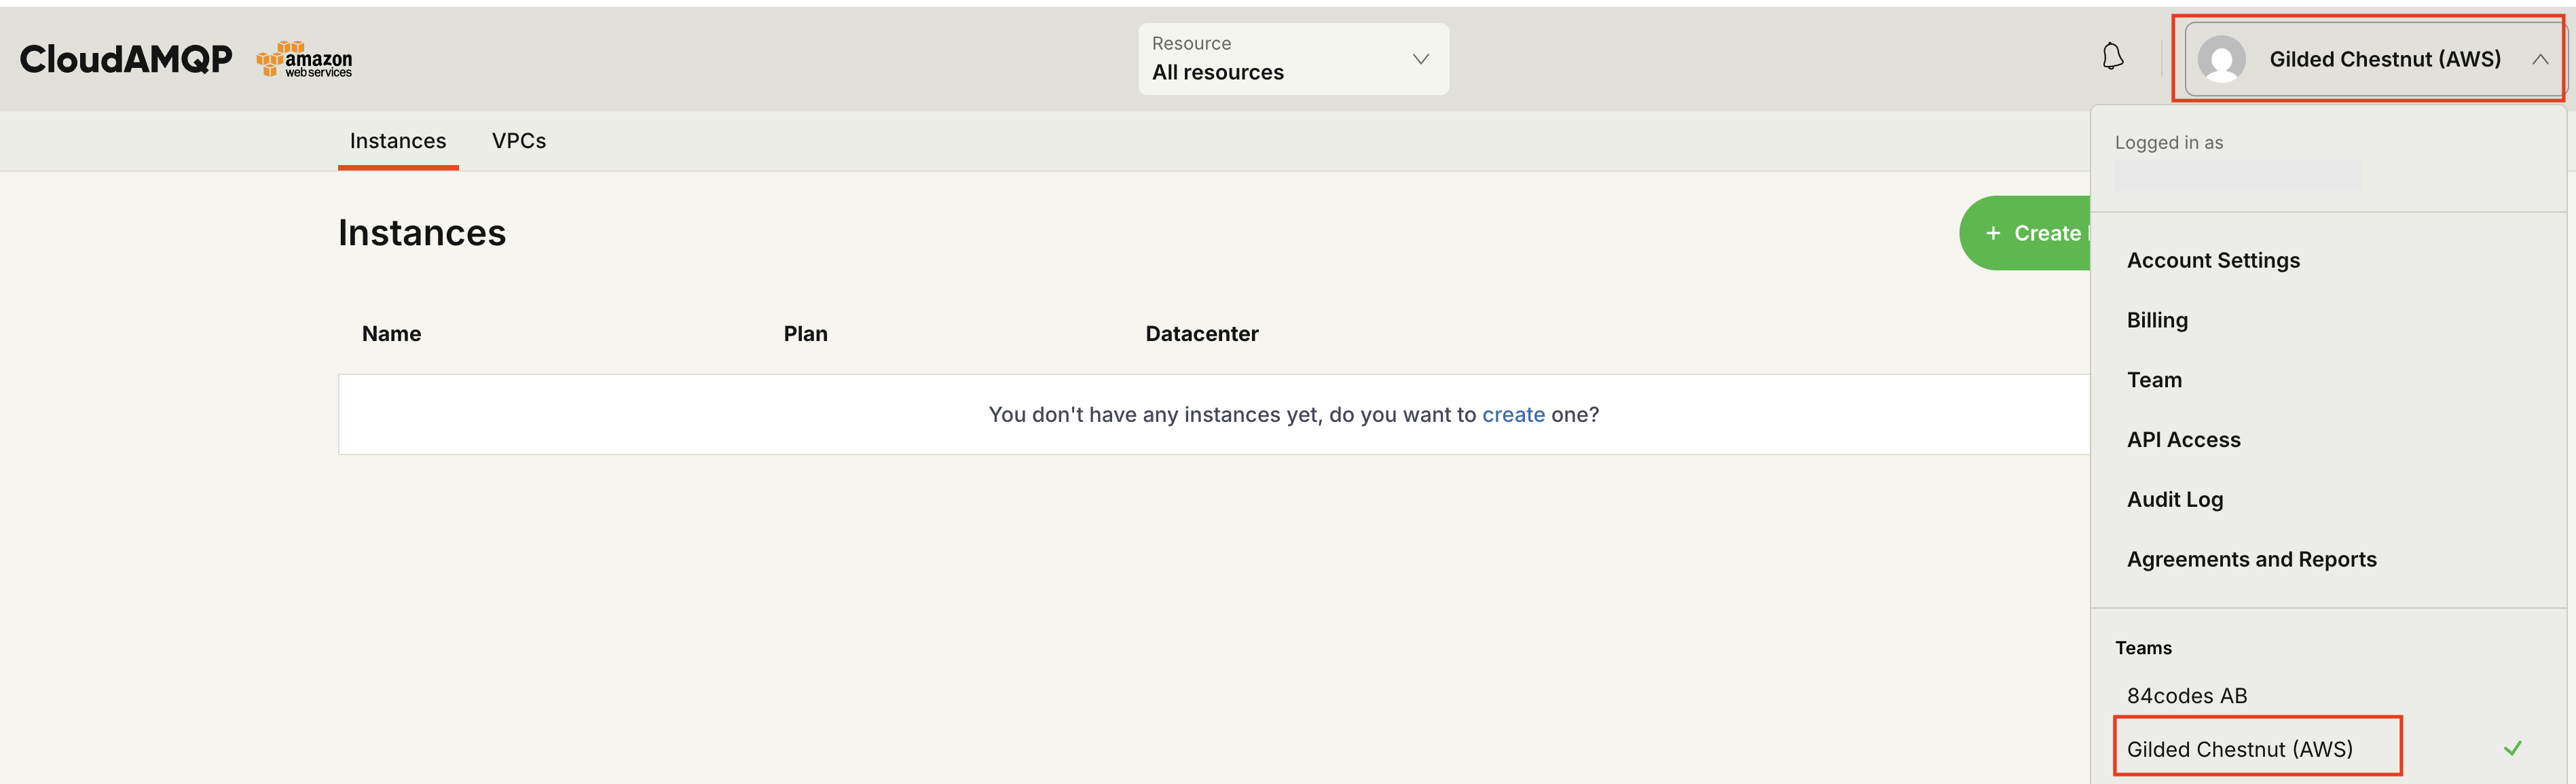
Figure 5. Select the team associated with your AWS Marketplace subscription.
When using the AWS Marketplace subscription, CloudAMQP will restrict available deployment regions to AWS.
Step 6: Create Your First LavinMQ Instance
- Navigate to the Instances page and click Create New Instance.
- Provide the instance name, plan, and tags (optional).
- Click Select Region.
- Choose the desired AWS region and continue to the review page.
- Review the configuration and click Create Instance.
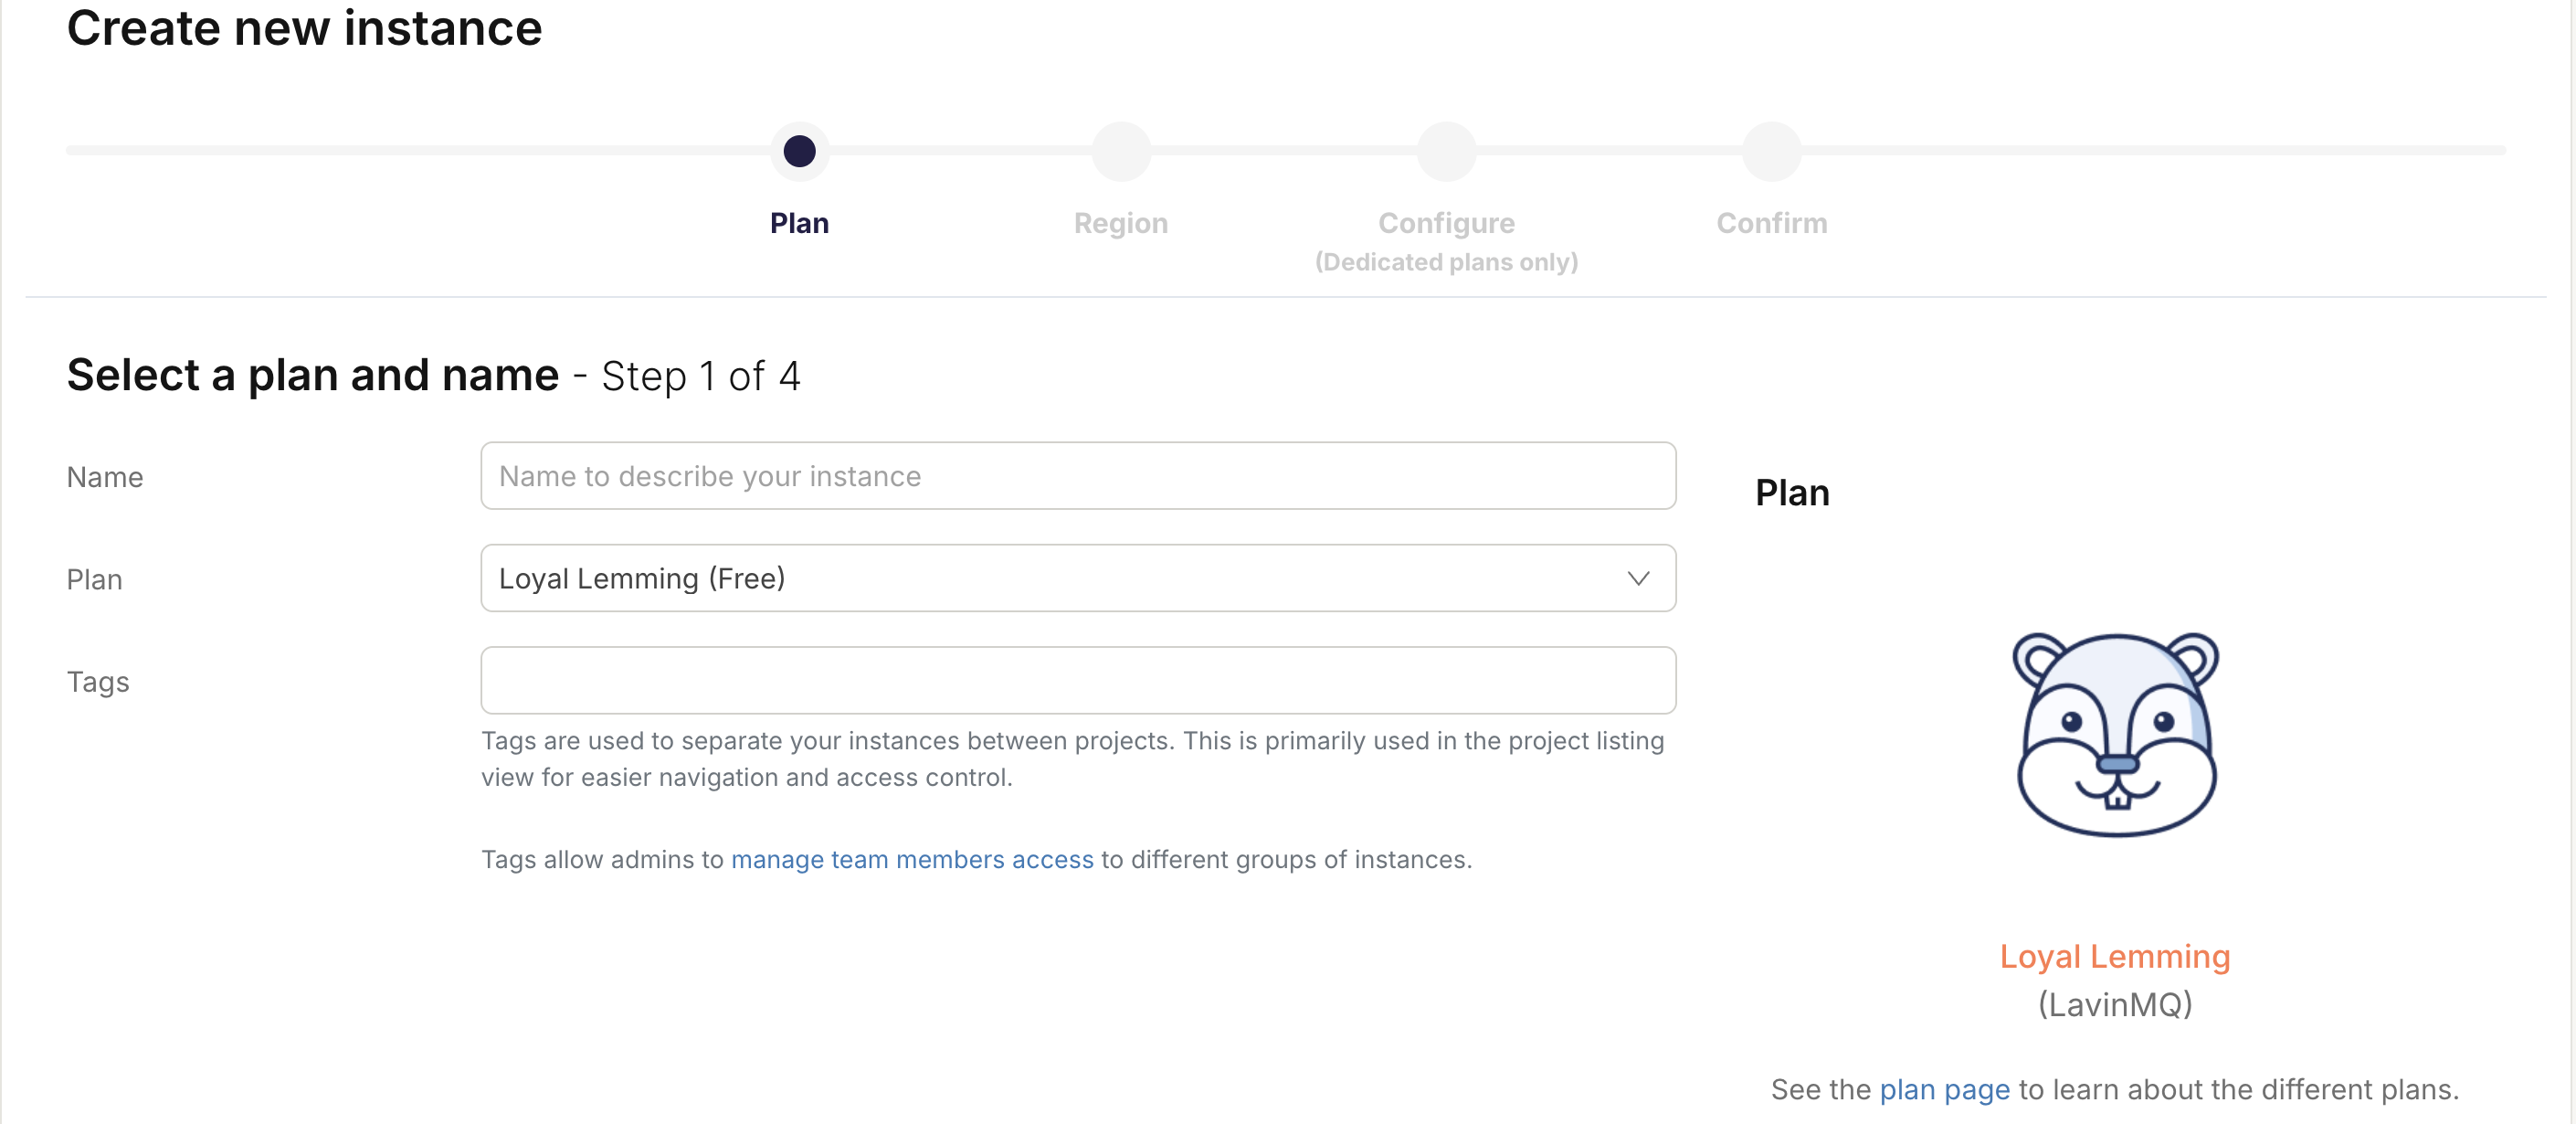
Figure 6. Create a new LavinMQ instance.
Step 7: Review and Create Your LavinMQ Instance
- Review the instance configuration, including the name, plan, cloud provider, and region.
- Click Create Instance to confirm.
CloudAMQP will begin provisioning the LavinMQ instance. Once complete, the instance appears on the Instances page.
- Click the instance name to open the instance overview page.
From the overview page, you can access:
- General instance information
- AMQP connection details
- MQTT connection details
- The LavinMQ Management Interface
To open the management interface, click LavinMQ Manager.
You have now successfully created and deployed a LavinMQ instance through AWS Marketplace and CloudAMQP.
Your LavinMQ instance is now running and ready to accept connections.
To learn how to connect applications, publish messages, and start using LavinMQ, continue with the Getting Started guide.
Hailay Gebremeskel