
Real-time temperature monitoring with LavinMQ
This guide will show you how to build a real-time temperature monitoring system. We will use a basic microcontroller and a sensor to create a project that sends live temperature data to a message broker. The data will then be displayed on a webpage in real time.
The project communicates via MQTT, a lightweight messaging protocol designed for Internet of Things (IoT) communication. The data displayed on a webpage is consumed via MQTT over WebSocket to ensure real-time updates.
An overview of the Internet of Things (IoT)
The IoT is a network of physical objects—”things”—that are embedded with sensors, software, and other technologies to connect and exchange data with other devices and systems over the internet.
A typical IoT system consists of four fundamental components:
- Devices/Sensors: A sensor’s job is to bridge the gap between the physical world and the digital world. It takes a real-world input, like temperature, pressure, light, or motion, and translates it into an output that a machine or system can understand and process. This guide uses a temperature and humidity sensor.
- Connectivity: This is the communication network that allows the data to travel from the sensors to the internet. It can use Wi-Fi, Bluetooth, cellular networks (4G/5G), Zigbee, or other protocols. This guide uses Wi-Fi.
- Data Processing: This is the brain of the system. The data is sent here to be understood and analyzed (often in the cloud). Here, you can use machine learning algorithms to find patterns and generate insights.
- User Interface (UI): Finally, the processed data is presented to the user via an app, a web dashboard, or another interface. The user can then monitor the system and, in some cases, send commands back to the device (e.g., to turn off a light).
What you’ll build with this guide
It’s time to learn how to set up a microcontroller with a temperature sensor. You’ll learn to send temperature data to a message broker (LavinMQ) and then retrieve that data to display it on a webpage.
You might be wondering, “Why do I need to send the data to a message broker?” In many IoT systems, a broker serves as a central hub that manages all data traffic. This approach, known as the publish/subscribe model, allows devices to send and receive information without needing to know anything about one another.
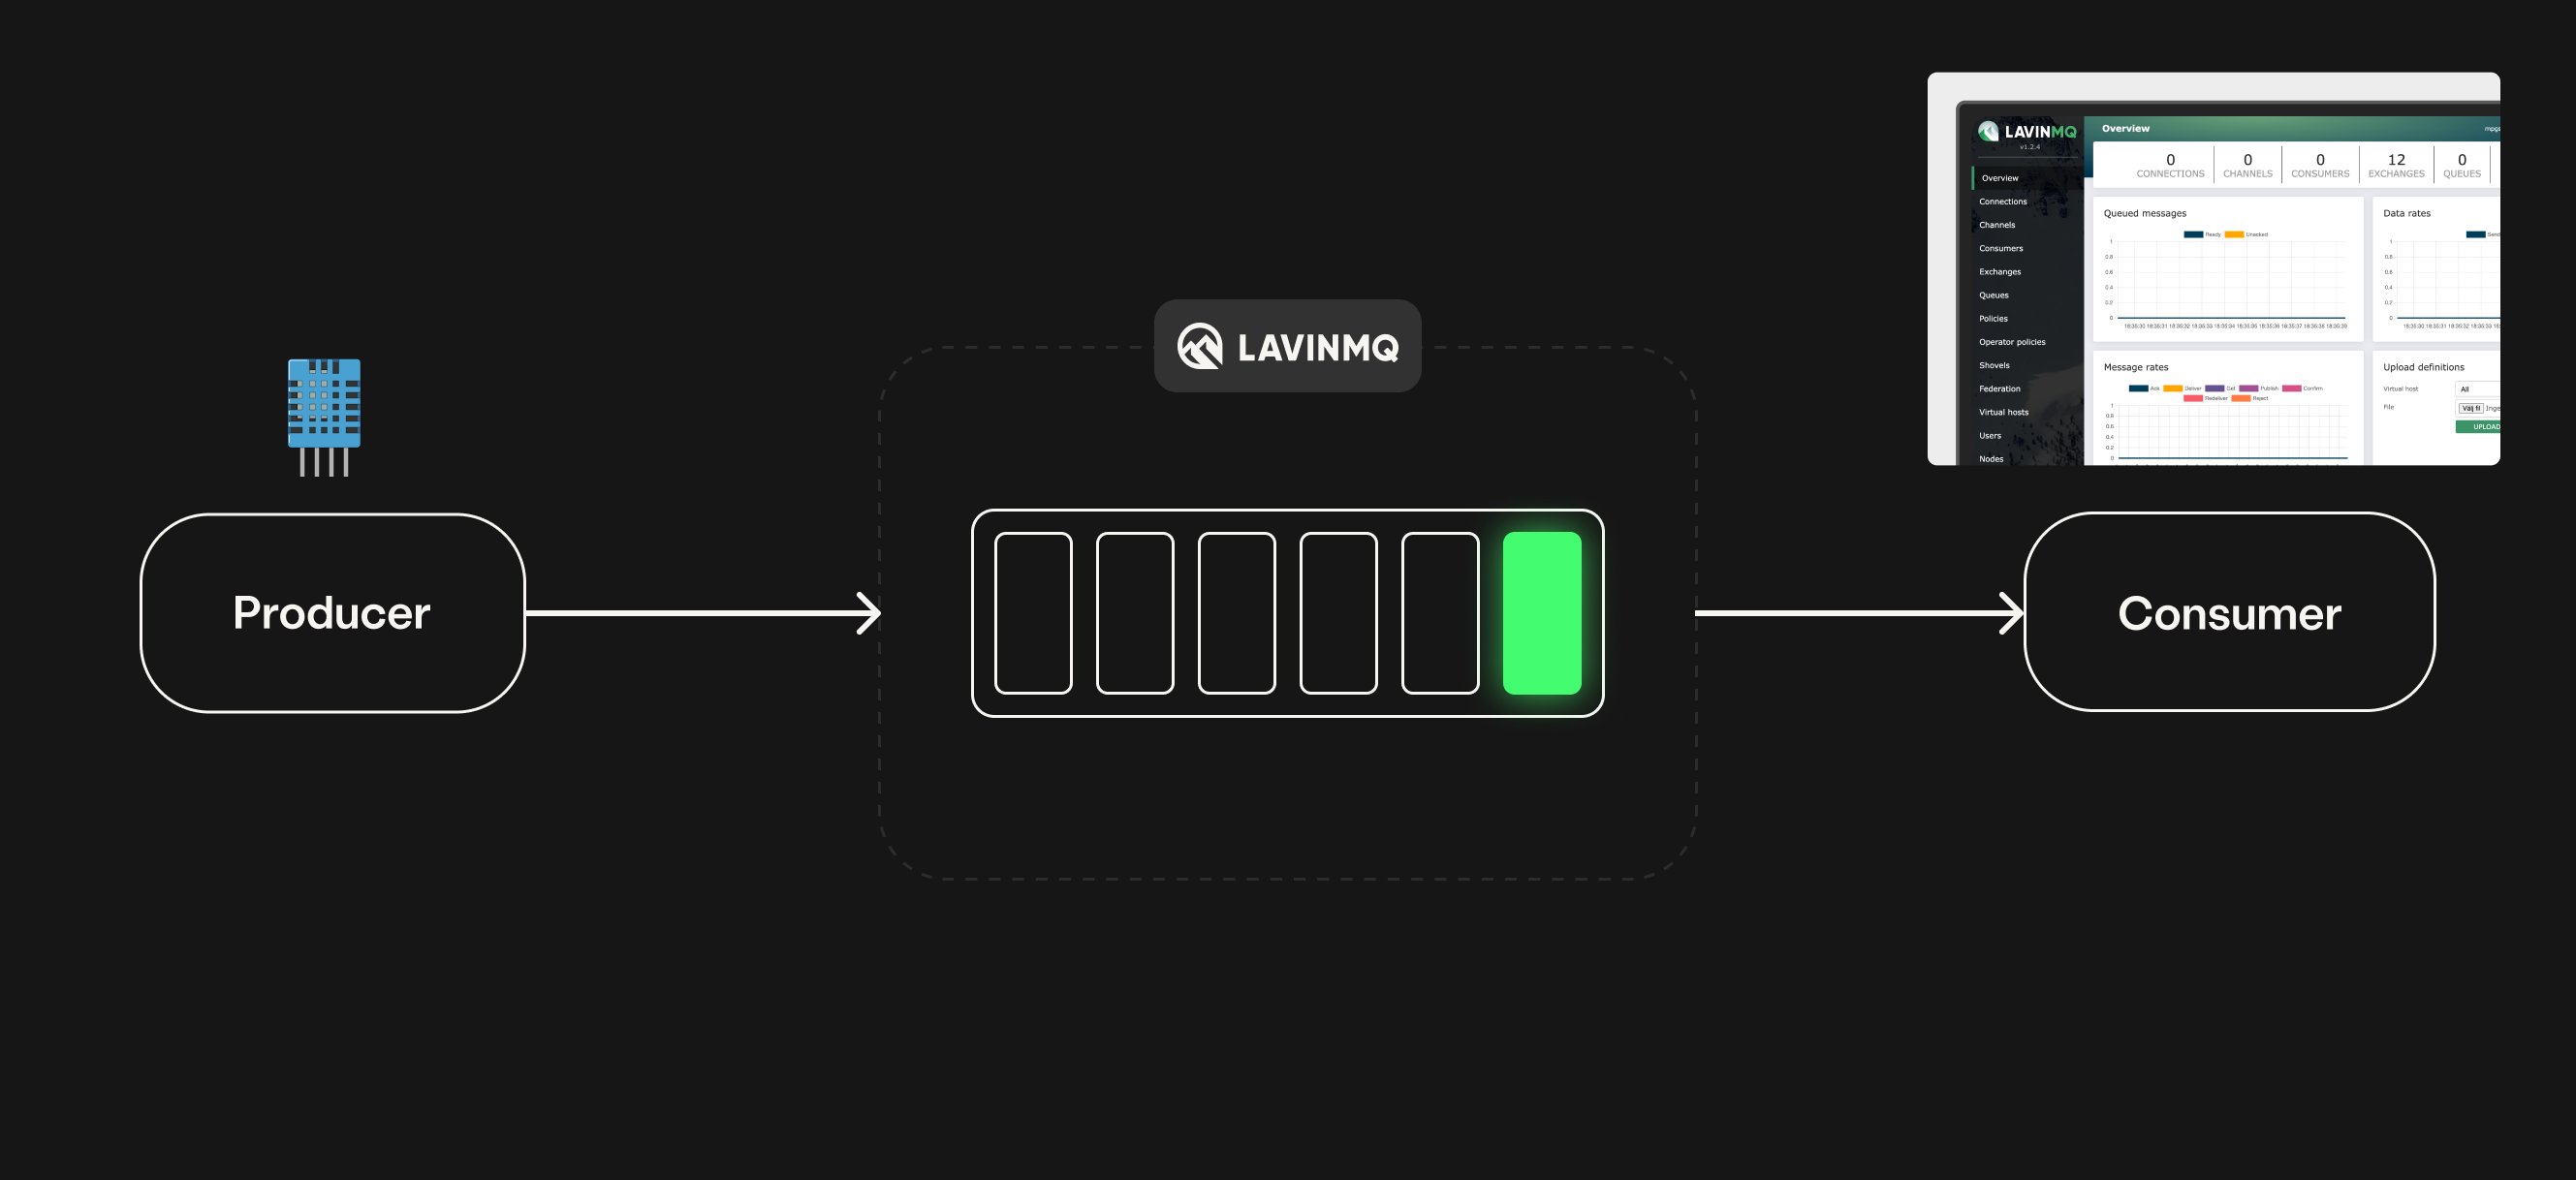
Here’s how it works:
- Publisher: The device (a NodeMCU board/microcontroller) with a temperature sensor publishes a message with temperature data to a specific topic in MQTT. E.g:
lavinmq/home/temperature. - Broker: The message broker (LavinMQ) receives the message and acts as a central post office. It knows which applications or devices are interested in data from that topic.
- Subscriber: An application (the web page) subscribes to the data from a topic and receives the message from the broker.
Get your free starting kit for this project
For this project, you can get a free LavinMQ IoT starting kit. Just send an email to marketing@cloudamqp.com to request one, or you can buy it yourself.
The starter kit includes:
- Microcontroller (In the starter kit: ESP32_C6)
- Sensor (DHT11)
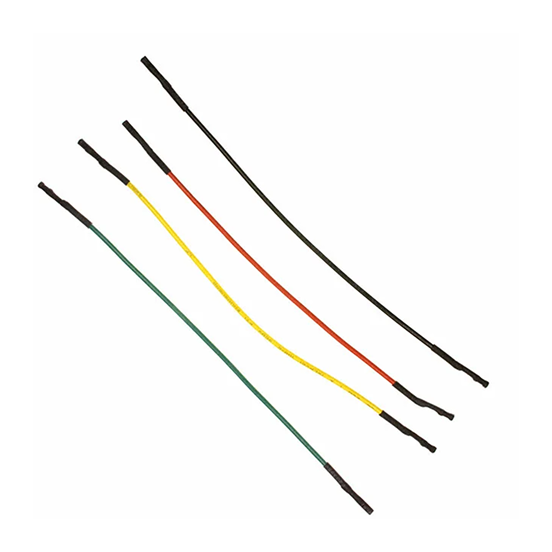
- Jumper cables (In the starter kit: 3 female - to - female)
Step-by-step guide
Step 1: IoT device setup
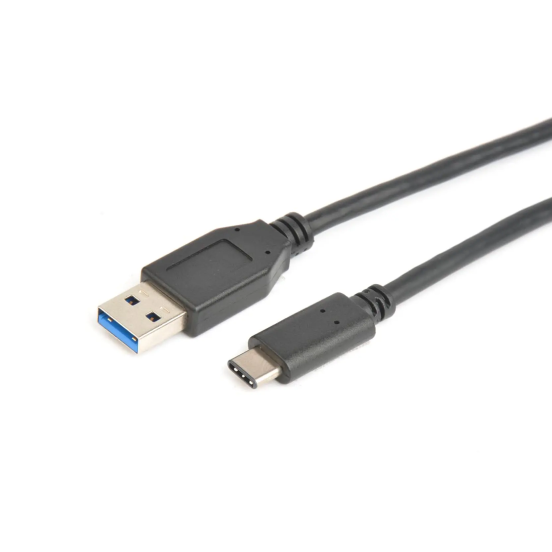
An IoT device is typically a combination of hardware components working together. This guide demonstrates how to set up an IoT device by connecting an ESP32-C6 microcontroller to a DHT11 temperature and humidity sensor using female-to-female jumper cables, uploading code to the ESP32-C6, and powering it via a USB-C.
Prepare hardware devices
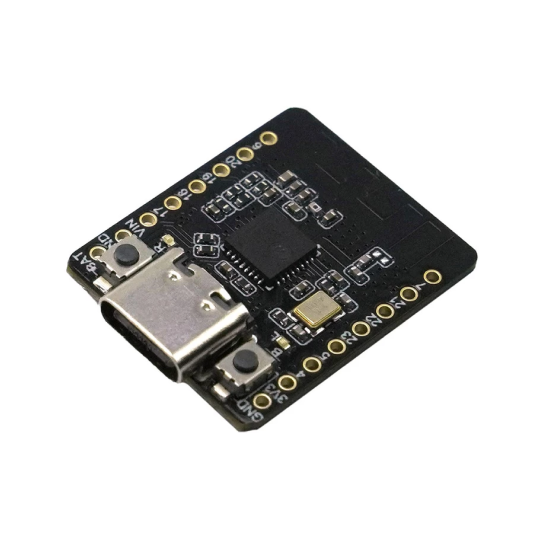
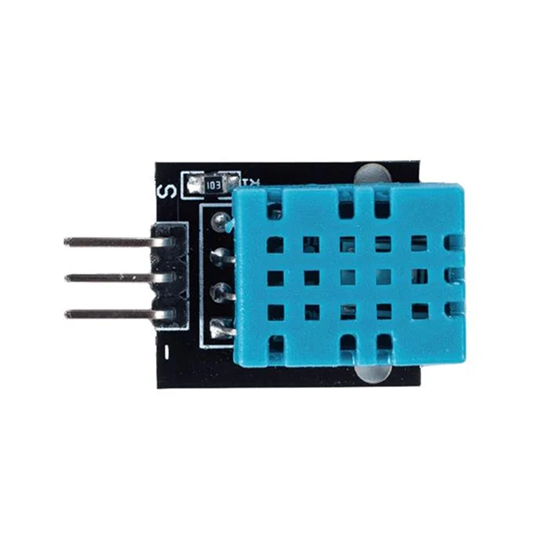
Before we start wiring the components, here’s an overview of the pins we’ll be using on the ESP32-C6 and how they connect to the DHT11 sensor.
| ESP32-C6 Pin | DHT11 Pin | Purpose | Cable Color |
|---|---|---|---|
| Pin 19 | Left | Data (Signal) | Yellow |
| GND | Right | Ground | Gray |
| 3V3 | Middle | Power (VCC) | Purple |
Set up
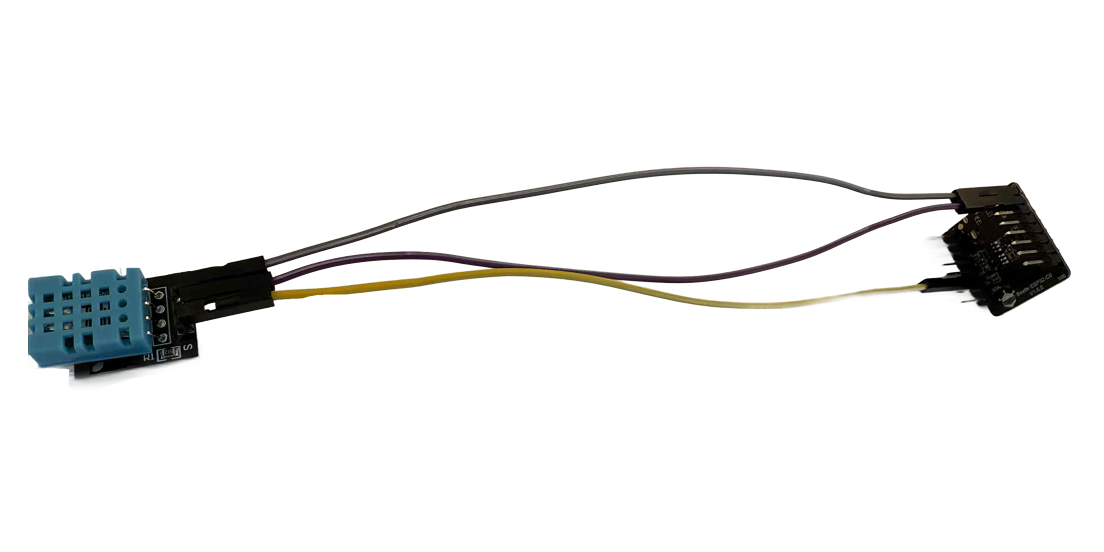
- Connect pin 19 (third from the bottom left corner) on the ESP32-C6 to the left pin on the DHT11 sensor using the yellow cable.
- Connect GND (top right corner) on the ESP32-C6 to the right pin on the DHT11 sensor using the gray cable.
- Connect 3V3 (second from the top right corner) on the ESP32-C6 to the middle pin on the DHT11 sensor using the purple cable.
The final setup should look like the image below.
Upload the Code
- Install the Arduino IDE on your computer and install all required libraries.
The most important libraries are:
- DHT sensor library by Adafruit
- PubSubClient by Nick O’Leary
- DHT sensor library by Adafruit
- Connect the ESP32-C6 to your laptop using a USB-C cable.
- Open the sketch in the Arduino IDE.
From the Board menu, select DFRobot FireBeetle 2 ESP32-C6 (recommended for ESP32-C6 devices).
- If DFRobot FireBeetle 2 ESP32-C6 is not available, open Board Manager, search for esp32, and install the package by Espressif Systems.
- Click Upload (the right-arrow button) to flash the code to the board.
- Once the upload is complete, open the Serial Monitor (Tools → Serial Monitor) to view debug output.
Step 2: Create a LavinMQ instance
To begin, you need to set up a new CloudAMQP server. CloudAMQP provides a managed LavinMQ broker, which is fully compatible with our IoT project’s needs for message handling.
- Navigate to CloudAMQP. Sign up for an account, or if you already have one, log in.
- Once you are logged in, you will be on the control panel. Click the “Create New Instance” button.
- For a basic IoT project or a proof-of-concept, the free Loyal Lemming plan is perfect. Select this plan to proceed.
- Give your new instance a name that is descriptive of your project, for example, “iot-temperature-project.”
- Choose a data center region that is geographically close to your device. This helps to minimize latency and improve performance.
- Review your selections and then click the “Create Instance” button. CloudAMQP will then provision your new LavinMQ server.
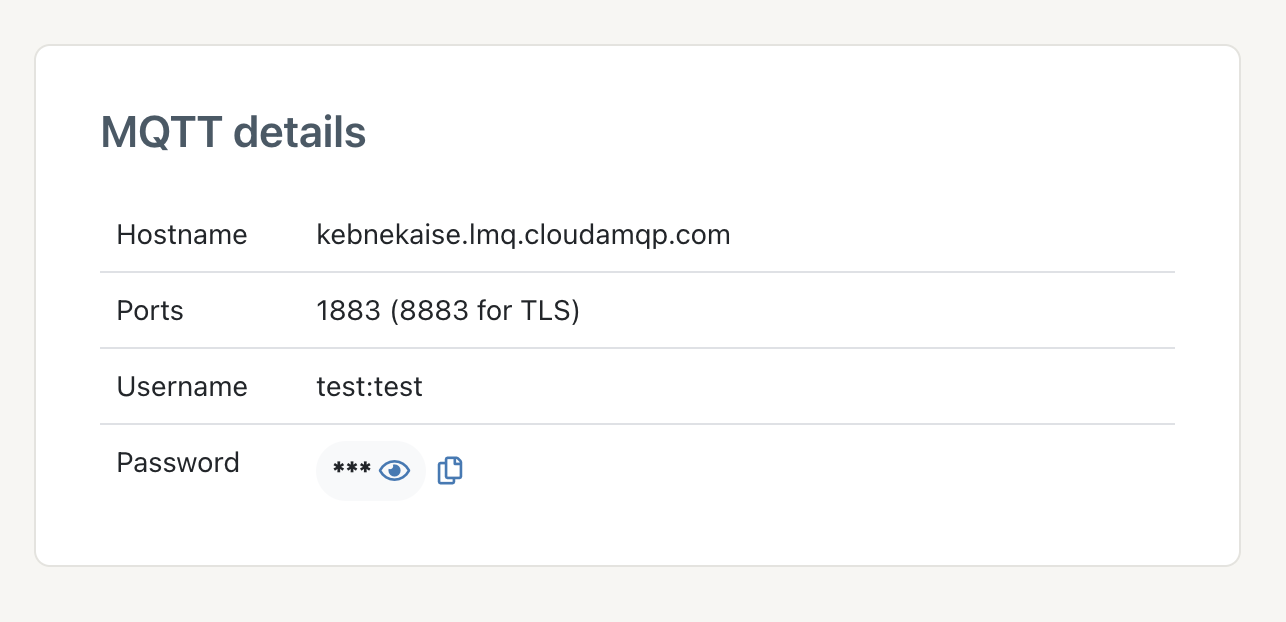
- Once the instance is active, you will be provided with the necessary connection details. This includes the hostname, user, and password that you will use in your microcontroller.
You now have a live message broker ready to handle the data from your IoT device. The following steps involve using these connection details to set up your publisher (the microcontroller) and your subscriber (the webpage). Make sure that you keep the connection details in the browser or somewhere else, when you configure the microcontroller with these credentials your laptop will not be connected to the internet.
Step 3: Configure the microcontroller
- Connect the IoT device to a power outlet or to your computer using a USB-C cable.
- A demo Wi-Fi network named
demowifi-<device-id>will appear in your Wi-Fi list. Connect to the network that matches the SSID printed on your IoT folder. Note: The Wi-Fi network is available for about one minute. If you don’t connect within that time, unplug and replug the IoT device to restart it.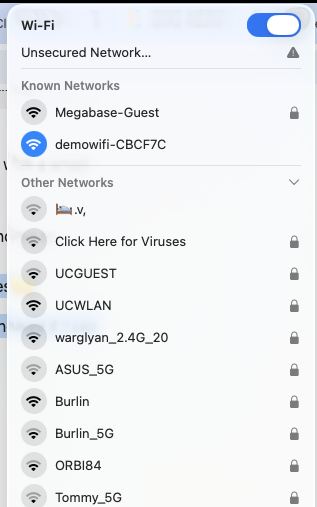
- Once connected, open a web browser and go to: http://192.168.4.1
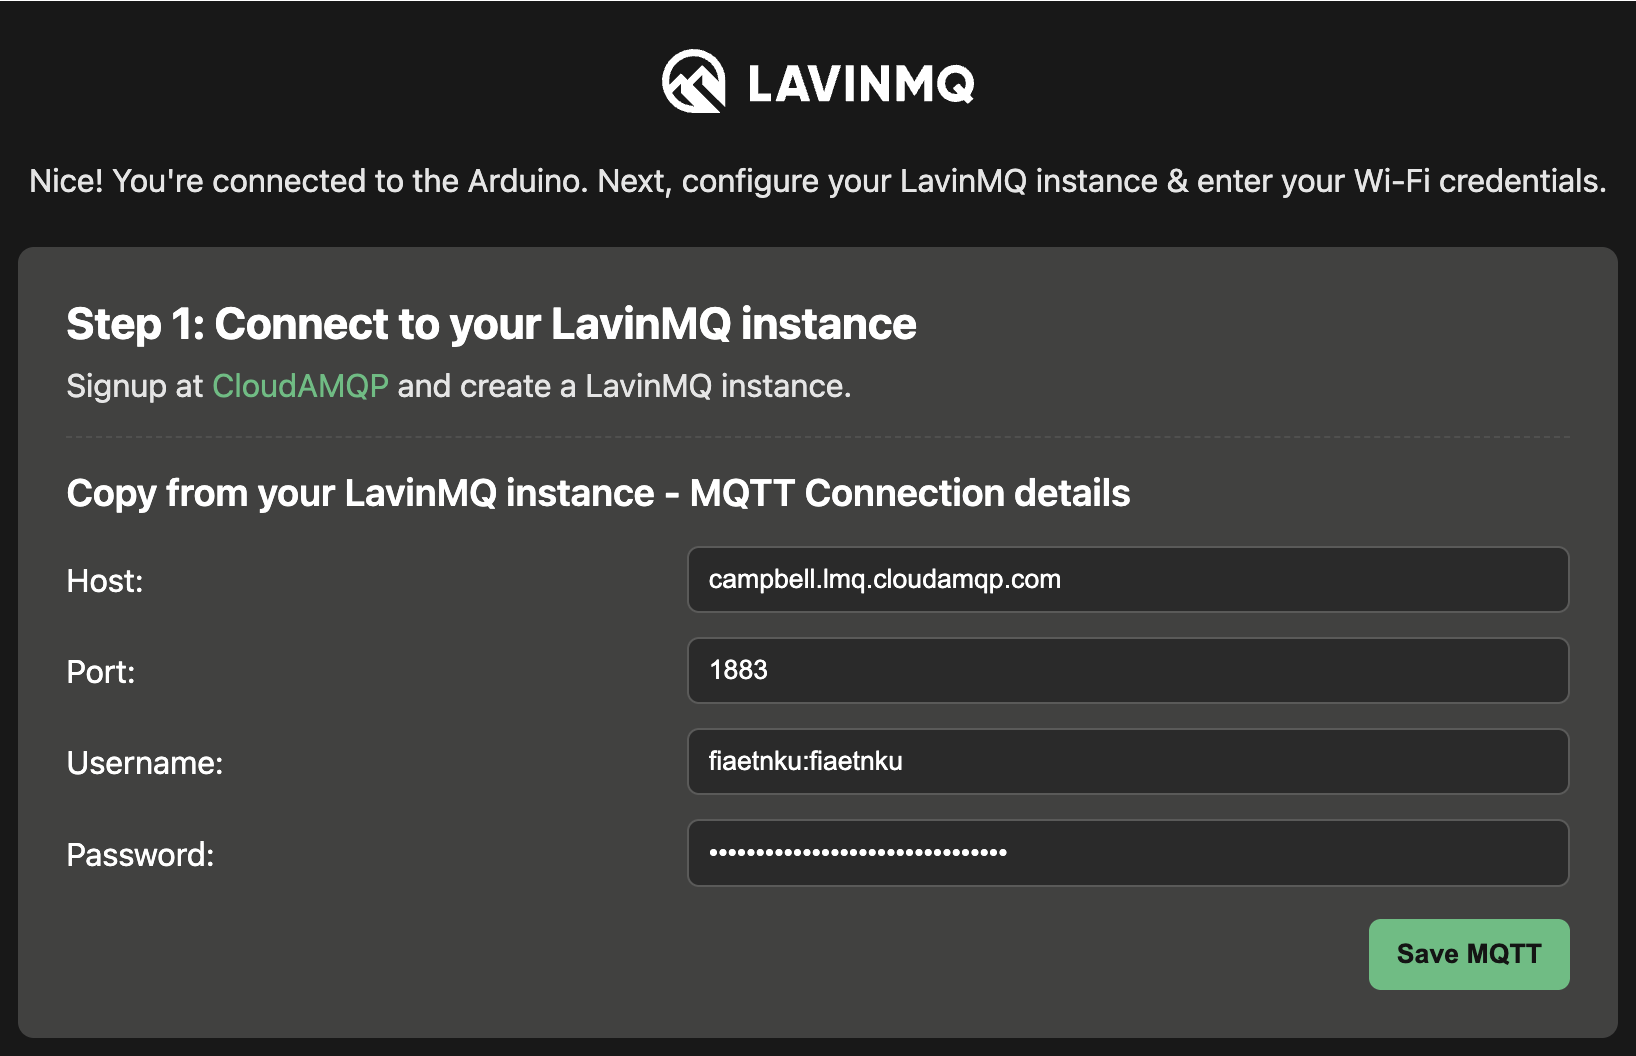
- Enter the MQTT and Wi-Fi details for your LavinMQ instance, then press Save. You can find your MQTT credentials in the overview page of your LavinMQ instance.
Note:
- Use port 8883 (encrypted) for the MQTT connection.
- After saving, refresh the page to confirm that the details are retained. If they are not, re-enter the information and save again.
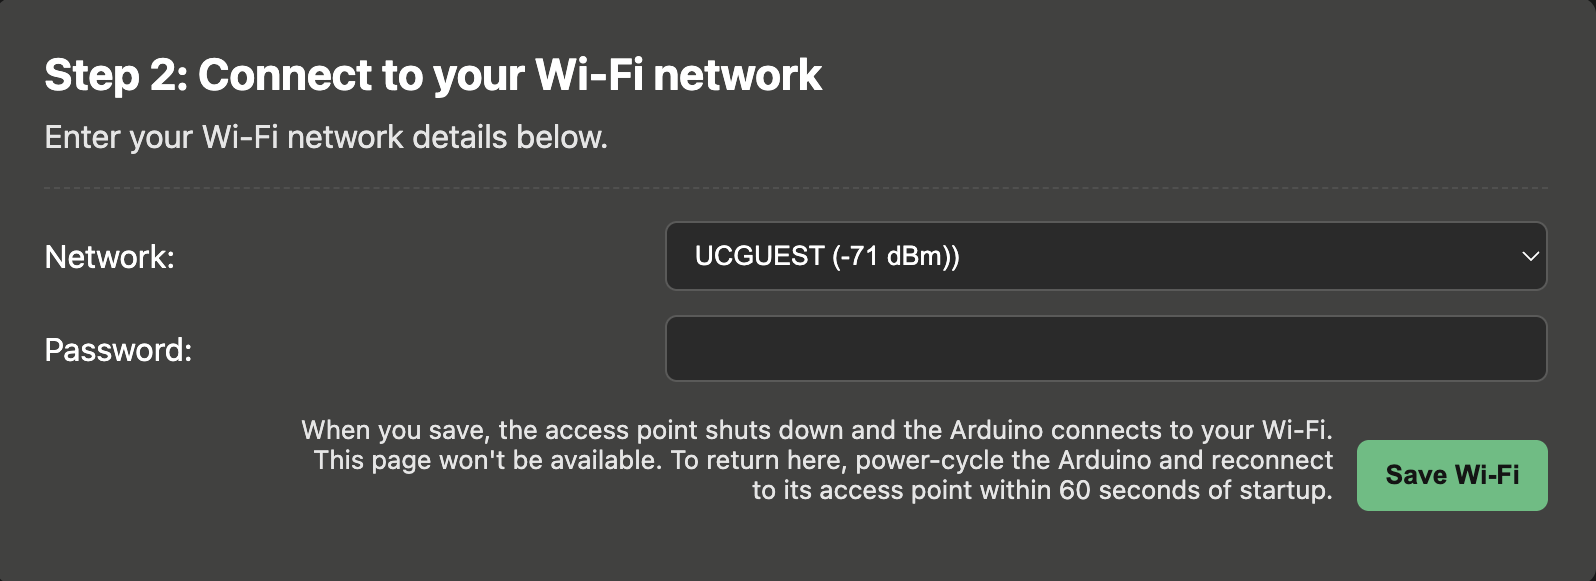
 5. In the network section, select your home network and enter the password. This will connect the microcontroller to your network.
The board only supports the 2.4GHz band, which could cause a problem if you share a hotspot from your phone. Most modern smartphones create a hotspot on the 5GHz band by default because it’s faster. A device that only supports 2.4GHz simply can’t “see” or connect to a 5GHz network.
5. In the network section, select your home network and enter the password. This will connect the microcontroller to your network.
The board only supports the 2.4GHz band, which could cause a problem if you share a hotspot from your phone. Most modern smartphones create a hotspot on the 5GHz band by default because it’s faster. A device that only supports 2.4GHz simply can’t “see” or connect to a 5GHz network.
 6. The microcontroller will start sending data to the message broker. 7. Verify that the data is sent by opening the management interface of the broker.
Wi-Fi and MQTT credentials are now stored on the board.
If you plug it in again to the computer later on, you will need to wait about one minute for the ‘Demo_wifi’ network to disappear from the list of available networks; the device will then connect to Wi-Fi.
Step 4: Consume the data via the terminal
-
Clone the web page project from GitHub.
- Navigate to the
subscribers/directory - Choose your preferred language and edit the corresponding file:
- JavaScript:
MQTT_subscriber.js - Python:
MQTT_subscriber.py - Ruby:
MQTT_subscriber.rb - C#:
Program.cs
- JavaScript:
- Replace the placeholder values with your LavinMQ instance credentials:
<broker-name>→ Your LavinMQ broker URL<username>→ Your LavinMQ username<password>→ Your LavinMQ password
- Run the appropriate command for your chosen language:
Python
python3 MQTT_subscriber.py
C#
dotnet run
Node JS
node MQTT_subscriber.js
Ruby
ruby MQTT_subscriber.rb
This will print temperature and humidity readings directly in your terminal.
Step 5: Use the data in a web page
It’s time to subscribe to the data from the message broker and show it on a web page. We have prepared a web page for you that is also available on GitHub (same GitHub repo as the step above so you don’t need to clone this again).
-
Edit
app.jsin thelandingpage/directory. Replace the placeholder values with your LavinMQ instance credentials:<hostname>→ Your LavinMQ hostname<username>→ Your LavinMQ username<password>→ Your LavinMQ password
-
Run the web page with
python3 -m http.server 8000(requires Python). -
Open a browser and go to: http://localhost:8000/index.html. Don’t use Chrome as the data will not appear there; use Firefox or Safari instead.
Step 6: Have fun!
We can’t wait to see how you use LavinMQ in your projects! If you want to dive deeper, get some hands-on help, or share your project with fellow developers, join our Slack community. It’s a place to ask questions, get advice from our team, and connect with other innovators using LavinMQ for their projects.
Enjoyed this article?
Join our newsletter today to get exclusive updates, in-depth technical guides, and early access to our future plans, delivered straight to your inbox.
Lovisa Johansson